The Wired MAB(MAC Authentication Bypass) with Cisco ISE 3.0
This is a simple topic but I couldn't see any document related to ISE 3.0 on the web. I won't mince words and will pass my topic.
I will talk with pictures. I created a topology with the Eve-Ng simulation program.

1. Switch configuration:
aaa new-model
aaa authentication dot1x default group radius
aaa authorization network default group radius
aaa accounting dot1x default start-stop group radius
interface Ethernet0/3
switchport access vlan 10
switchport mode access
authentication order dot1x mab
authentication priority dot1x mab
authentication port-control auto
mab
dot1x pae authenticator
radius server RAD2
address ipv4 192.168.100.100 auth-port 1812 acct-port 1813
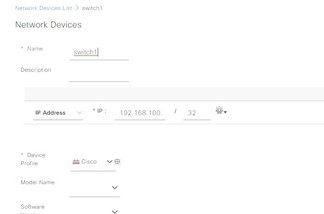
key cisco1232. Add network device to ISE:


3. Setup the Allow Protocol:


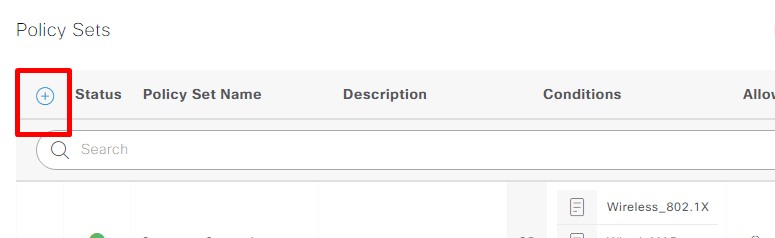
4. Setting Policy:
This part is important.
We define a policy like below;


Define the policy name and select a condition(Wired-MAB) from the condition studio. Choose the Company-Protocol which is defined before as an Allowed protocol.

Conditons Studio:

Click the arrow and go into Policy:

You will see a few sections below. We only use the authentication and authorization section.

4a. Authentication Policy:
If you want you can choose many conditions.

4b. Authorization Policy:

After defining the authentication and authorization policy, don't forget to save it.
5. Add the Mac address to Endpoint database:

You will see your Mac address on Endpoint then you will add the Mac address to Endpoint like below.


6. Check the Logs:

Click the detail.

Logs:
You will see the " 5200 Authentication succeeded"

Thanks for Reading.